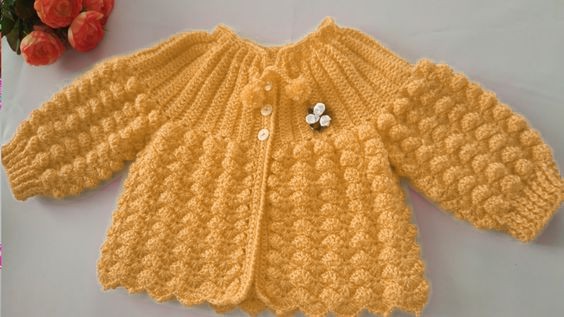
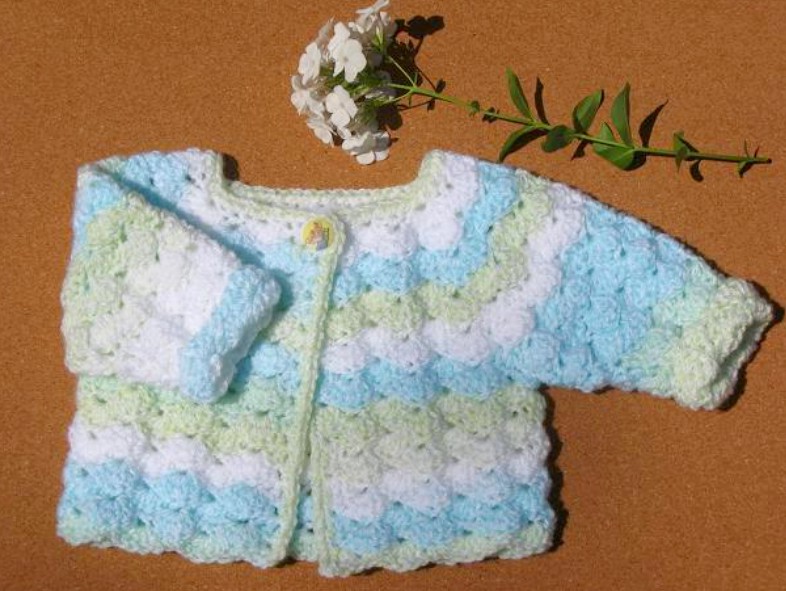
Baby Cardigan Crochet Pattern
Hello, my fellow crafters! Today, I’m excited to guide you through an easy, step-by-step process for crocheting a cozy children’s coat. With just a bit of time and effort, you can create a warm and adorable garment that’s perfect for the little ones in your life. Whether you’re a beginner or have some experience with crochet, this guide is designed to be simple and enjoyable. So grab your yarn, hook, and enthusiasm, and let’s get started!
A handmade coat isn’t just practical—it’s a thoughtful and personal creation. You can customize it with your favorite colors and stitches, making the final piece truly one-of-a-kind. Plus, it’s a great way to show your creativity and love for the child who gets to wear it.
Materials Needed:
- Crochet hook, size J (6.00mm)
- One ¾” button
- Sewing needle and thread
- 300 yards of worsted weight yarn
Gauge:
- 3 shell patterns = 4.5”
Finished Size:
- Fits 20” chest
- For smaller sizes, use thinner yarn and a smaller hook.
Abbreviations:
- ch = chain stitch
- st = stitch
- rep = repeat
- sl-st = slip stitch
- sk = skip
- sc = single crochet
- dc = double crochet
- ch-sp = chain space
- tch = turning chain at the start of the previous row
Special Stitches:
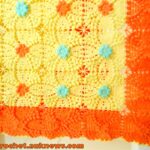
- SHELL = 5 dc in the same stitch
- SHELL7 = 7 dc in the same stitch
- HALF-SHELL (beginning of row) = Ch 3, turn, work 2 dc in the 1st sc
- HALF-SHELL (end of row) = 3 dc in the last sc
- SC-IN-SHELL = Sc in the 3rd dc of a 5-dc SHELL
- INC-OVER-SHELL7 = Skip the 1st dc, sc in the 2nd dc, skip the 3rd dc, work a SHELL (5 dc) in the 4th dc, skip the 5th dc, sc in the 6th dc, and skip the 7th dc
Instructions:
Yoke
Step 1:
- Foundation Chain: Chain 50.
Step 2:
- Row 1: Work sc in the 2nd ch from the hook and in each ch across. (49 sc)
Step 3:
- Row 2:
- Begin with a HALF-SHELL at the start.
- Skip 1 sc, sc into the next sc.
- Work a SHELL in the next sc. Repeat this sequence throughout the row as follows:
- SHELL7, SHELL, SHELL7, SHELL (repeat 3 times), SHELL7, SHELL, SHELL7, SHELL, then end with a HALF-SHELL.
- At the end of the row, you should have 4 SHELL7s, 7 SHELLs, and 2 HALF-SHELLs.
- Place stitch markers in the center of each SHELL7. These markers will need to be moved up as you progress through the rows.
Step 4:
- Row 3 (Increase Row):
- Ch 1, turn.
- Work sc in the 1st stitch, then alternate between SHELL in sc and sc in SHELL across the row.
- For each SHELL7, work INC-OVER-SHELL7. End with sc in the turning chain. (16 SHELLs total)
Step 5:
- Row 4:
- Start with a HALF-SHELL. Then alternate between sc in SHELL and SHELL in sc across the row.
- End with sc in the last SHELL and finish with a HALF-SHELL. (15 SHELLs and 2 HALF-SHELLs)
Step 6:
- Continue following the pattern outlined in rows 5-10 for increases and shaping, moving stitch markers as directed at the start of each row.
Step 7:
- On Row 11 (Dividing Row):
- Work ch 1, turn. Begin your shells as usual. When you reach the center of the 1st marked SHELL, work sc, then chain 5. Skip to the next marker and repeat this for armhole openings.
- At the end of the row, you’ll have 12 SHELLs for the body, with open spaces created by the ch 5 loops for sleeves. Remove all markers.
Body Section
Step 8:
-
From Row 12 onward, continue the SHELL/sc pattern. Skip the armhole spaces, and work stitches into marked SHELLs only.
-
Alternate the rows for shaping as directed:
- Rows 13, 15, 17, 19 continue with SHELL increases.
- Rows 14, 16, 18 even the edges.
Step 9:
- For edging:
- Ch 1, pivot your work to crochet along the front edges. Work approx. 32 sc up one side, then 3 sc in the corner of the neckline. Continue across the neckline and down the other side to create clean edges. Secure and cut yarn.
Sleeves
Step 10:
- Attach yarn at the center chain under the armhole opening.
Step 11:
- Work the sleeve pattern in the round as follows:
- SRow 1 (Foundation Round): Ch 1, sc in the center ch under the arm, and alternate SHELL/sc evenly around the armhole. Sl-st to join. (6 SHELLs total)
- From SRows 2-12, alternate between SHELL rows and sc rows for shaping. Decrease rows occur on SRows 5 and 9, reducing one SHELL at a time.
Step 12:
- Repeat these steps for the other sleeve.
Finishing
Step 13:
- Weave in all loose ends neatly.
- Sew the button securely at the neckline. Reinforce one of the SHELL holes to serve as the buttonhole.
Step 14:
- Roll up the cuffs of the sleeves for a snug fit. These can be unrolled as the baby grows.
Access the PDF/ Download Free Pattern PDF
Your lovely baby cardigan is now complete!
Dear crochet lovers,
Do you enjoy browsing social media for beautiful crochet patterns and creative inspiration? 🧶✨
Check out our Facebook page, where we share stunning designs, fresh ideas, and endless crochet inspiration! Whether you’re a beginner or an expert, you’ll find something to spark your creativity. 💖
🌿 Visit us here: Crochet Made Easy