Mastering the Solid Granny Square: A Modern Twist on a Crochet Classic
Among the many staples in a crocheter’s toolkit, the classic granny square stands tall. It’s a design that’s stood the test of time, adored for its charm and endless versatility. However, there are times when a cleaner, more contemporary finish is called for. That’s exactly where the solid granny square steps into the spotlight.
In this guide, we’ll take a closer look at what defines the solid granny square, its unique benefits, and how you can create your own. Whether you’re a beginner or a seasoned yarn enthusiast, this structured square is a delightful addition to your crochet repertoire.
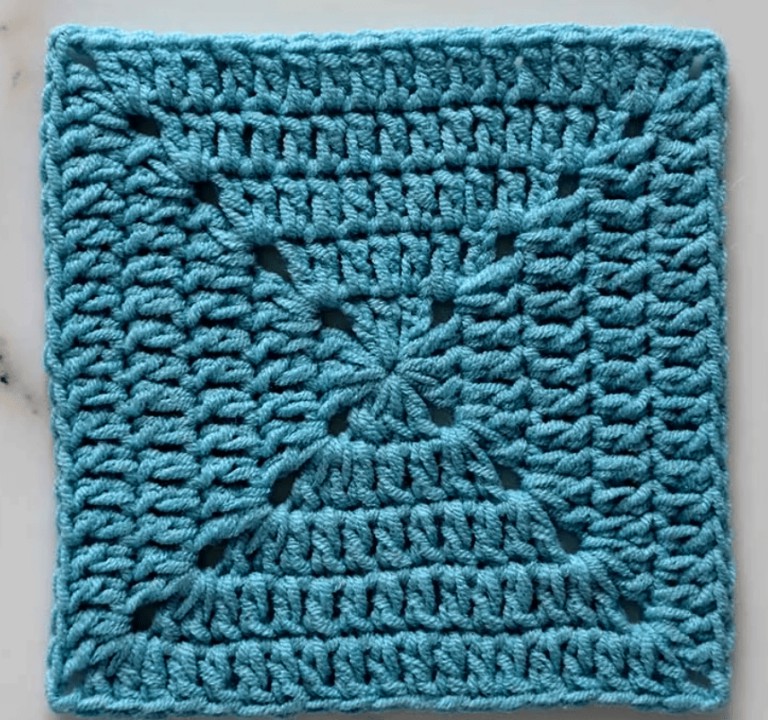
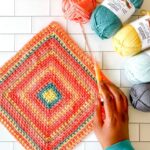
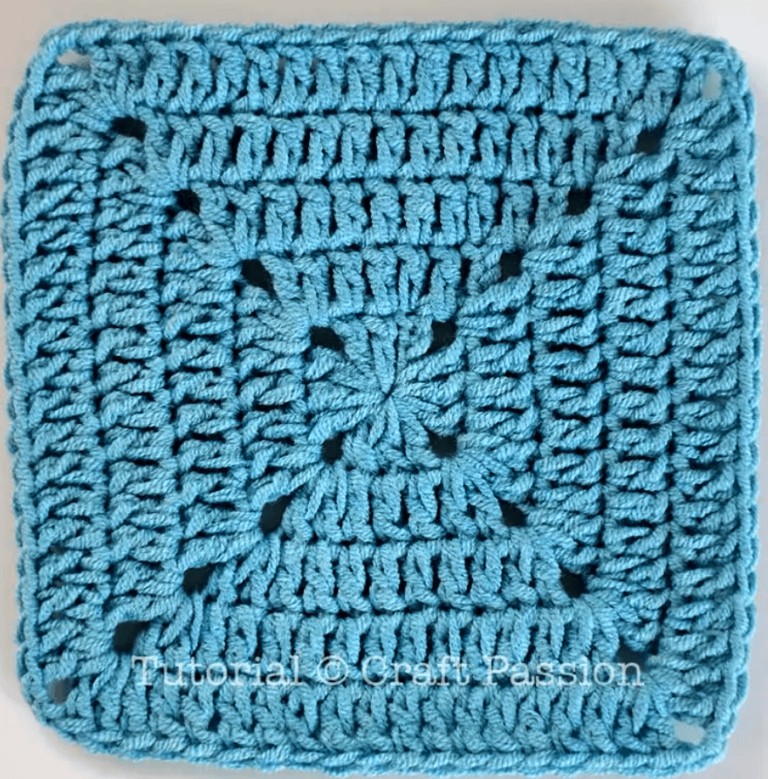
Unlike the traditional granny square—with its open, airy design—the solid granny square lives up to its name. It’s a denser, tighter version that uses a more compact stitch layout. The result is a square that feels sturdy, warm, and substantial, making it perfect for both practical items and refined pieces.
Why Choose Solid Granny Squares?
Tactile Warmth
Thanks to their tight weave, solid squares provide a plush, textured feel. They’re ideal for cosy projects like blankets, throws, and winter accessories.
Sleek and Stylish
The clean lines and unbroken surface give these squares a more modern look—less vintage cottage, more minimalist chic.
Extremely Versatile
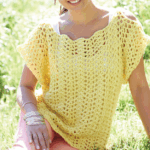
Solid granny squares are wonderfully adaptable. You can use them in everything from home décor (think cushions and table runners) to wearable items like bags or scarves.
Durability
Their compact structure makes them robust and long-lasting—perfect for pieces that see frequent use or need to hold their shape over time.
What You’ll Need
-
Worsted weight yarn in your chosen colour
-
A crochet hook suitable for the yarn weight
-
Scissors
-
Yarn needle for weaving in ends
How to Crochet a Basic Solid Granny Square
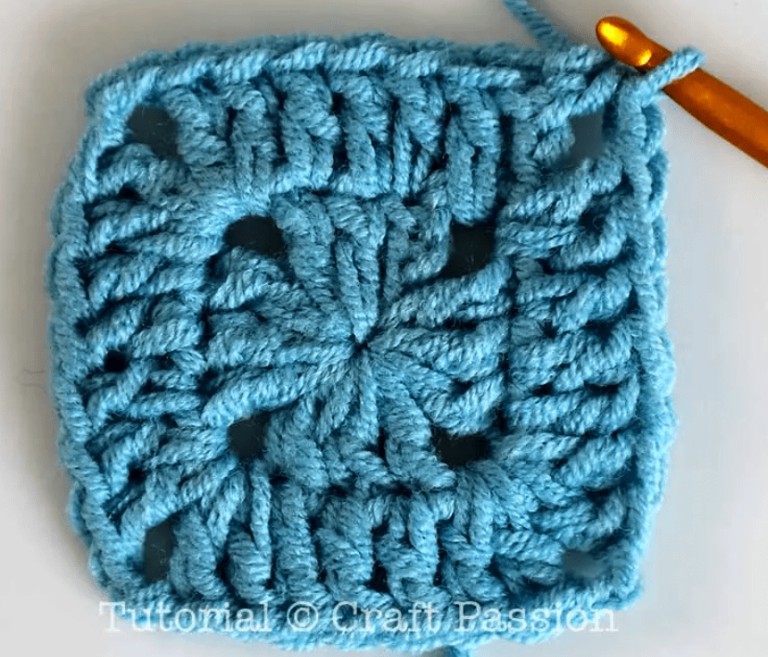
Round 1:
Start with a magic ring. Into this ring, work: Chain 3 (counts as 1 double crochet), 2 double crochets, [chain 2, 3 double crochets]—repeat this sequence three more times. Pull the yarn tail to close the ring, then join with a half double crochet into the top of the starting chain. (20 stitches total)
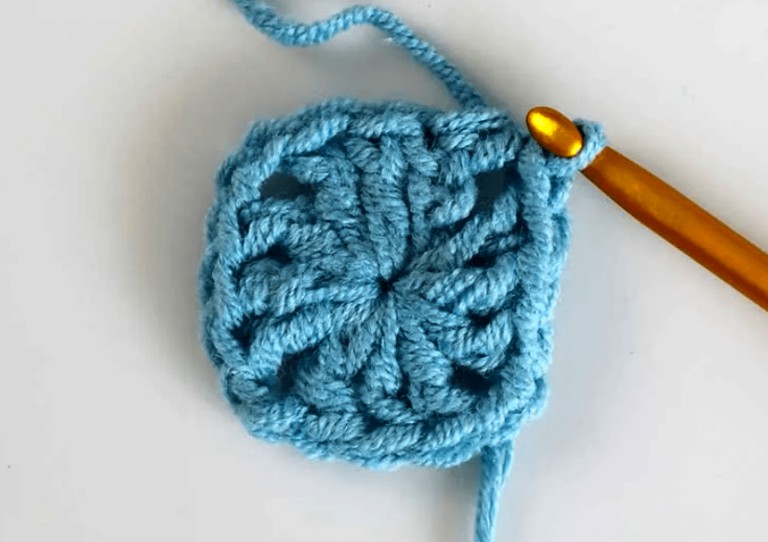
Round 2:
Chain 3 (this counts as 1 double crochet), work 1 double crochet into the joining space, then 1 double crochet into each of the next 3 stitches. Into each chain-2 corner space: (2 double crochets, chain 2, 2 double crochets) followed by 1 double crochet into each of the next 3 stitches. Repeat around. At the end, add 2 double crochets in the joining space. Join with a half double crochet. (36 stitches)
Round 3:
Begin with chain 3, then double crochet into the same space. Work 1 double crochet into the next 7 stitches. In each chain-2 space: (2 double crochets, chain 2, 2 double crochets), followed by 1 double crochet into the next 7 stitches. Repeat around. Finish with 2 double crochets in the joining space. Join. (52 stitches)
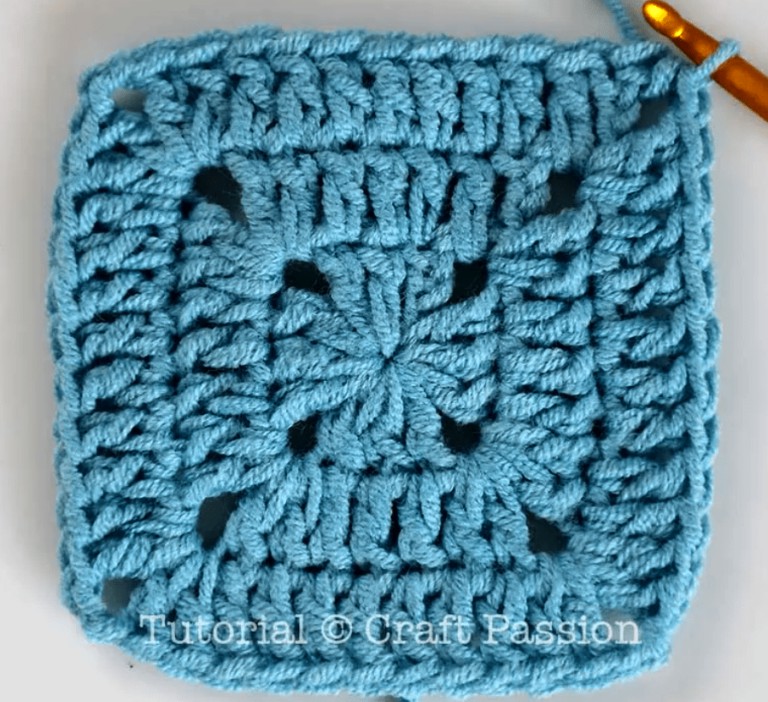
Round 4:
Repeat the same pattern, this time placing 1 double crochet into the next 11 stitches between corners. (68 stitches)
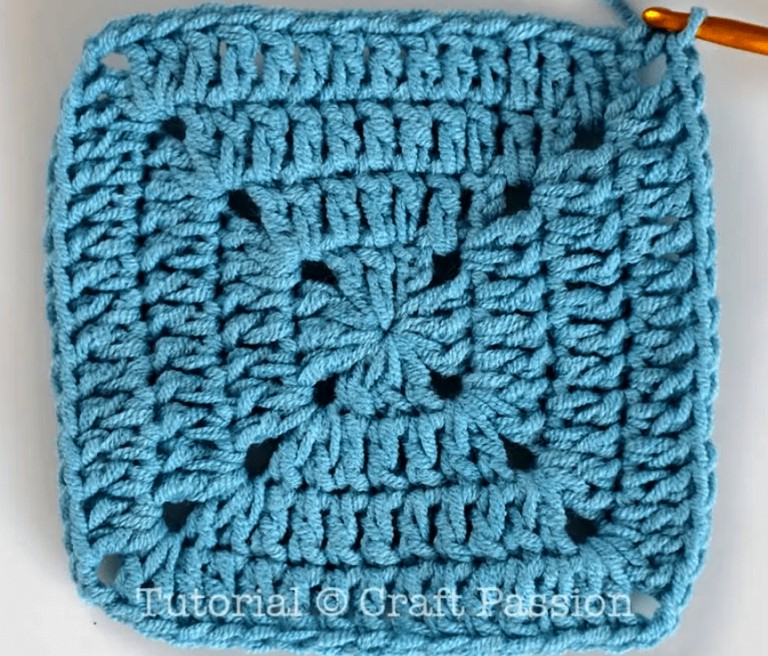
Round 5:
Continue as before, now placing 1 double crochet into the next 15 stitches between corners. (84 stitches)
Repeat this structure for as many rounds as needed, increasing the number of stitches between corners by four each time.
Solid Granny Square Crochet Chart:

VIDEO TUTORIAL
Dear reader, we will provide a video tutorial option here that you can follow. I recommend this tutorial created by the Jonna Martinez channel.
Be sure to watch the video tutorial, this way you will be able to familiarize yourself with the step-by-step instructions more easily and do a great job when you get to work. Watch the video tutorial below:
The solid granny square blends tradition with a modern edge. Its clean texture and structural integrity make it a standout for both functional and decorative creations. From baby blankets to boho cushions, or even statement bags, this square has endless potential.
Looking for more crochet inspiration? We share a wide range of stunning patterns and ideas on our Facebook page. Pop by and discover new favourites to add to your collection.
Follow us on Facebook: Crochet Tutorial
From all of us at Crochet Easy, thank you for being part of our creative community. We send you warmth, creativity, and happy stitching—until the next pattern!