🧵 Mini Square Crochet Blanket – A Cozy, Colorful Project You’ll Love
Crochet mini squares are a fantastic way to build a beautiful, personalized blanket—one small square at a time. These tiny motifs are beginner-friendly, quick to make, and endlessly versatile. Whether you’re using up scrap yarn or trying out bold new color combos, mini squares give you the creative freedom to design something truly unique.
✨ Why Choose Mini Squares?
-
Portable & Easy: Each square is compact and fast to finish, making them the perfect on-the-go project.
-
Great for All Skill Levels: Simple enough for beginners, yet flexible for more advanced stitch experimentation.
-
Fully Customizable: Mix different stitches, textures, and color palettes to match your style or theme.
-
Stash-Buster Friendly: Ideal for using leftover yarn—you only need small amounts per square.
Whether you’re crafting a full-size throw, a baby blanket, or a decorative cushion cover, mini squares are a fun and satisfying way to crochet your creativity into something cozy.
🧶 Skill Level
Easy Peasy – Perfect for beginners or anyone who wants a relaxing, meditative project.
📋 Notes
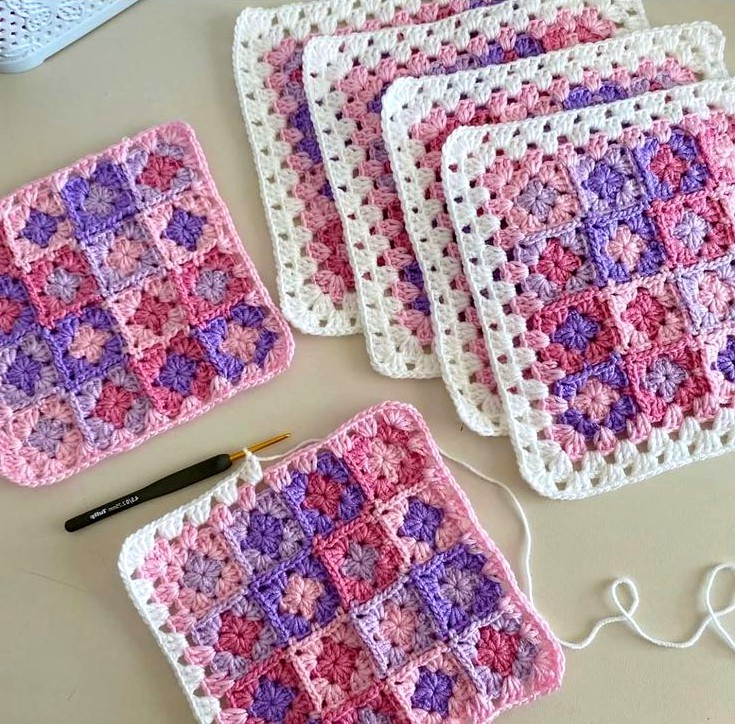
Use the join-as-you-go method to connect your granny squares. Crochet the first square completely, then join each new square as you go by linking into the corners of the previous ones.
🔲 Pattern – Make 16 Mini Squares
You’ll be making 16 squares total, using nine different colors for a vibrant, patchwork look.
First Square
-
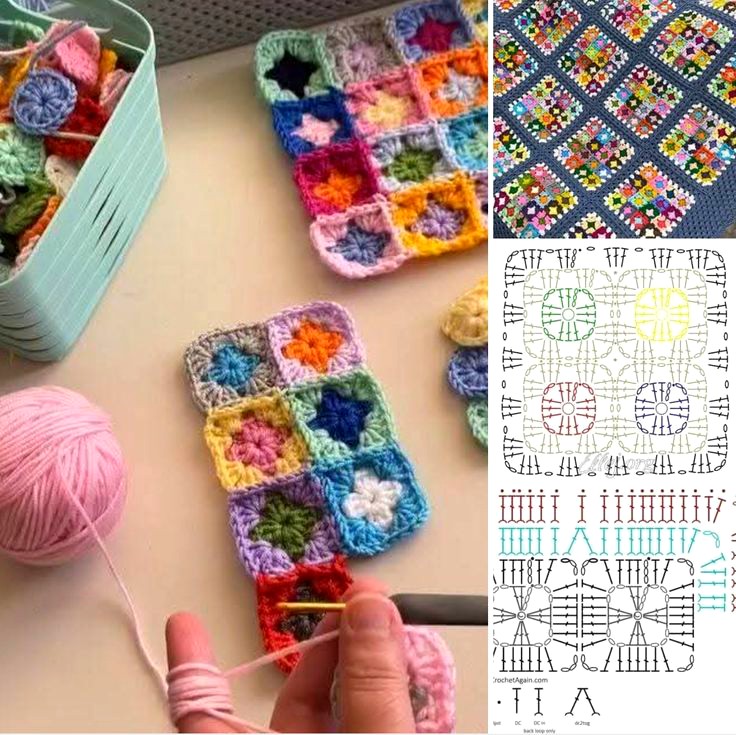
Using your chosen yarn color, chain 4.
-
Round 1 (RS): Work 2 tr into the 4th chain from hook, ch 2, then (3 tr, ch 2) three more times into the same stitch.
-
Join with a slip stitch to the top of the starting chain.
→ You should have 12 treble crochets (tr) and 4 ch-2 spaces.
Fasten off.
Joining New Squares
For each new square, use the same method as the first, but replace the ch-2 corner space with:
→ (ch 1, slip stitch into adjacent square’s ch-2 corner, ch 1)
This connects the squares neatly while maintaining the corner shape.
🖼 Border Instructions
Once all squares are joined:
-
With the right side (RS) facing, join your final border color in any stitch.
-
Round 1 (RS): Ch 3 (counts as first tr), then work 1 tr into every stitch and chain space along the edge.
-
At each corner: (2 tr, ch 2, 2 tr) into the ch-2 corner space.
-
Repeat all the way around. Join with a slip stitch to the top of the beginning ch-3.
→ You’ll end up with 64 stitches and 4 ch-2 spaces around the border.
Fasten off and weave in all ends.
💡 Creative Tips & Inspiration
-
Try ombre color transitions, rainbow themes, or earthy neutrals for different moods.
-
Add texture by mixing in different stitch styles or yarn weights.
-
Personalize your blanket further by sewing in initials, dates, or symbolic colors.
🌟 Wrap Up
Mini square blankets are not just beautiful—they’re also full of personality and meaning. Whether you’re snuggled up under your own creation or gifting it to someone special, every stitch tells a story.
Ready to get started on your own crochet mini square adventure?
We’d love to see your progress! Share your photos, color combos, and favorite patterns in the comments below or tag us on social media. Let’s get stitching! 💖🧶