The Granny Ripple Blanket: A Timeless Crochet Favorite
If you’re a fan of cozy, handcrafted home décor, the Granny Ripple Blanket is a delightful crochet pattern you need to know. This nostalgic but versatile project has charmed generations of crochet enthusiasts with its striking zigzag design, vibrant color possibilities, and comforting texture. Whether you’re just learning to crochet or are a seasoned pro, the Granny Ripple Blanket is a project that offers both simplicity and creativity.
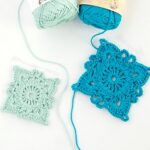
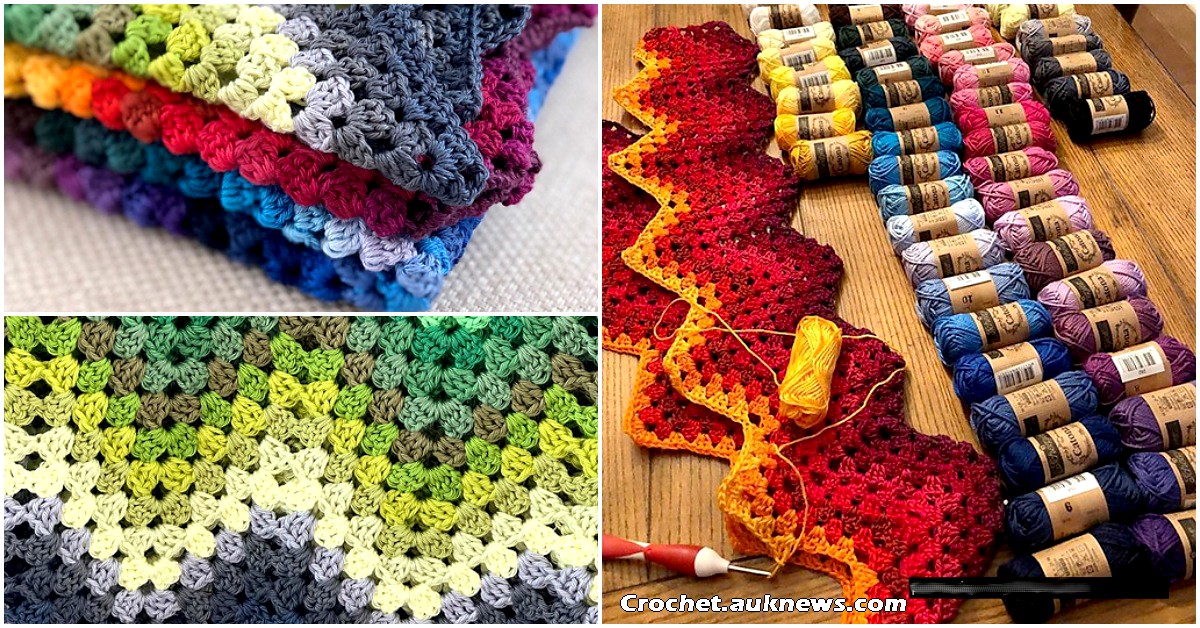
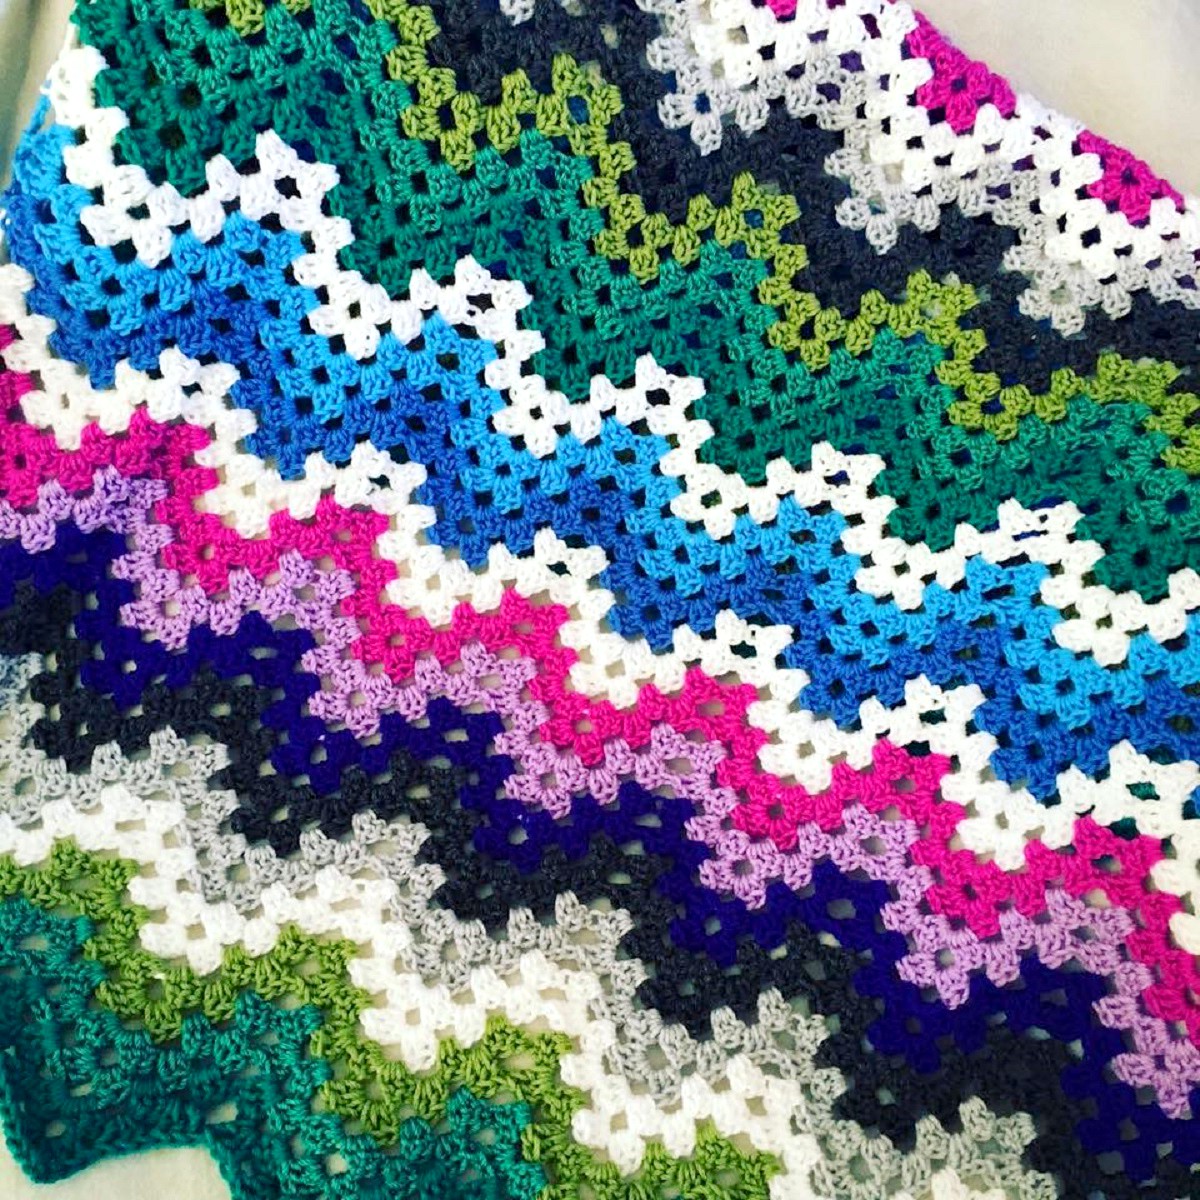
A Granny Ripple Blanket is a crochet project that blends two beloved patterns—granny squares and ripple designs. It features alternating peaks and valleys, creating a wave-like effect, while still incorporating the traditional “granny stitch” (clusters of three double crochet stitches). The result is a blanket that’s visually dynamic yet delightfully cozy.
The pattern goes beyond aesthetics. Its construction is rhythmic and meditative, making it a go-to for relaxing crochet sessions. Best of all, it adapts beautifully to any color scheme, from soft pastels for a baby blanket to bold, modern hues for a statement throw.
The Granny Ripple Blanket takes its roots from the classic granny square pattern, which dates back to the late 19th century. These squares became a symbol of resourcefulness and creativity, as they allowed crocheters to use up yarn scraps while producing something beautifully unique. The ripple or chevron design also gained popularity around the same time, showcasing the versatility of angle and stitch placement in crochet.
At some point, the two patterns merged, giving birth to the Granny Ripple Blanket—a homage to traditional techniques with a twist. Today, this pattern remains a favorite due to its nostalgic charm and adaptability to modern styles.
Why Crocheters Love It
There’s a reason the Granny Ripple Blanket has so many fans. First, it’s beginner-friendly—all you need are basic stitches like chains, double crochets, and slip stitches to get started. Yet, it’s complex enough to keep more advanced crocheters engaged, especially when playing with color combinations.
The design also lends itself to endless creativity. You can change up the width of the ripples, experiment with multi-colored yarns, or add a decorative border to make the project truly your own. Plus, because the pattern works in rows rather than individual squares, there’s no need to sew anything together at the end!
What You’ll Need
To crochet your very own Granny Ripple Blanket, you’ll only need a handful of supplies:
- Yarn: Choose any weight that suits your project, but worsted weight yarn is ideal for beginners. For more texture, consider a bulky yarn. You’ll need multiple skeins, depending on your blanket’s size.
- Hook: Use the crochet hook size recommended on your yarn label. Typically, an H/5mm or I/5.5mm hook works well with worsted weight yarn.
- Scissors: For trimming yarn ends.
- Tapestry Needle: To weave in the ends.
Optional but helpful supplies include stitch markers to keep track of your rows and a measuring tape to ensure your blanket reaches your desired dimensions.
Step-by-Step Guide to Crocheting a Granny Ripple Blanket
Step 1: Create a Foundation Chain
Decide on the width of your blanket and make a foundation chain in multiples of 18 stitches, plus 3 extra chains for the starting row.
Step 2: Work the First Row
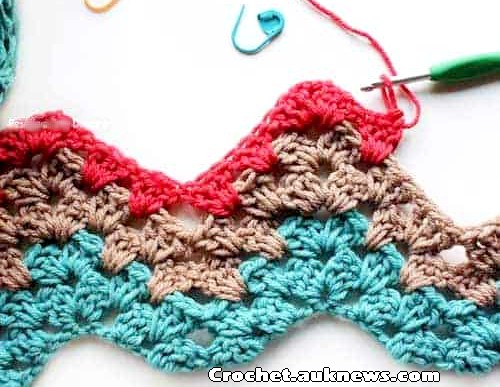
- Start in the fourth chain from the hook. Create a granny stitch (three double crochets in the same chain).
- Skip two chains, and in the next chain, make another granny stitch. Repeat this process across the row until you reach its end.
- To create the peaks and valleys, add an extra granny stitch in the center stitch of every peak and skip stitches at the valleys.
Step 3: Build the Ripples
Turn your work and chain 3 (this counts as your first double crochet). Begin your next row by continuing the granny stitch pattern and following the peaks and valleys established in the first row. For consistent shape, always add two granny clusters at the top of each peak and skip clusters at the bottom of each valley.
Step 4: Continue Rows
Repeat the granny stitch pattern row after row. This will gradually build up the ripple effect. Use your creativity to change yarn colors whenever you like, creating stripes or gradients.
Step 5: Add a Border (Optional)
Once your blanket reaches the desired length, add a border for a polished look. A simple round of single crochet around the edges works well, or you can try something more elaborate like a shell or picot edge.
Tips for Beginners
- Start Small: Practice on a shorter chain until you’re comfortable with the pattern.
- Use Stitch Markers: Mark the peaks and valleys to avoid losing track of your count.
- Keep Tension Even: Check your tension regularly so the ripples stay consistent.
- Experiment with Colors: Don’t be afraid to express yourself! Use leftover yarn or a color-changing skein for a fun effect.
Inspiring Color Combinations
Here are some fun ideas to help you choose your yarn colors:
- Classic Brights: Use six or seven bold colors for a retro look.
- Neutral Tones: Combine beige, taupe, and cream for a modern aesthetic.
- Ombre Gradient: Go from light to dark shades of a single color, such as blue or purple.
- Seasonal Themes: Try orange and brown for fall, or festive reds and greens for winter.
Access The Free Paatern / Granny Ripple Blanket
Tutorial Video
Using and Gifting a Granny Ripple Blanket
Once finished, your Granny Ripple Blanket can be used in countless ways. Drape it over a couch to add a splash of color or fold it on your bed for extra warmth. This versatile blanket is also an ideal handmade gift. New parents will treasure these as baby shower presents, and friends or family members will appreciate one during the holidays or special occasions.
The Granny Ripple Blanket is more than just a crochet project—it’s a heartfelt, timeless piece of art. Whether you’re spending a chilly evening wrapped in its comfort or giving it away as a thoughtful gift, this pattern embodies the love and care that goes into every crochet stitch.
Why not grab your hook and yarn today? You’ll not only create a beautiful heirloom but also enjoy the rewarding sense of accomplishment that comes with handmade craftsmanship. Happy crocheting!