How to Crochet the Cross Over Stitch (Free Tutorial)
Learn how to crochet the Cross Over Stitch with this free and beginner-friendly tutorial! This beautiful textured stitch adds depth and visual interest to your crochet projects and works wonderfully for blankets, scarves, dishcloths, and more. I’ll guide you through the process step by step so you can master it with confidence.
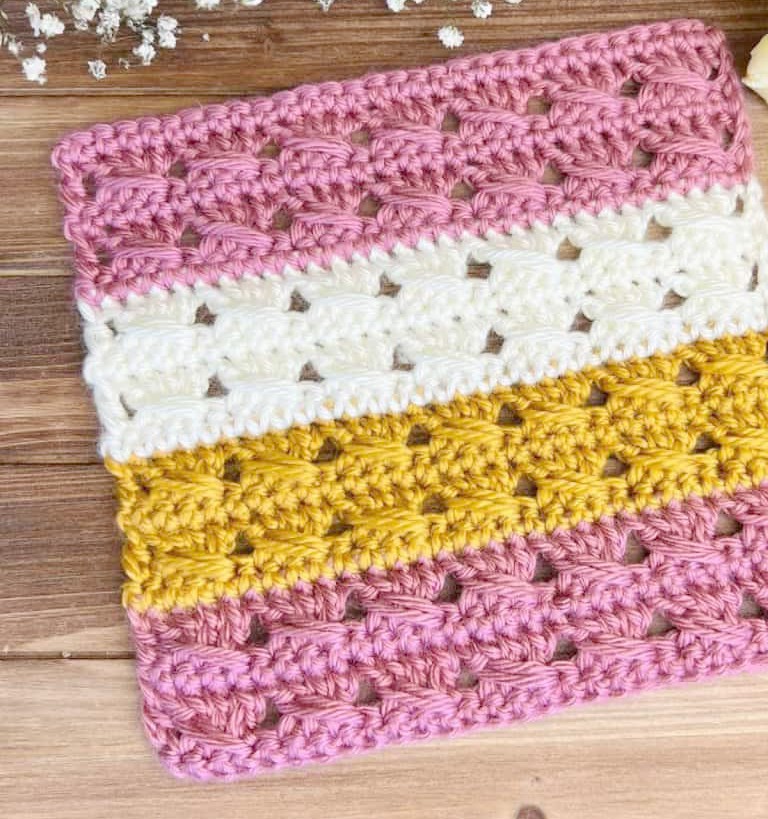
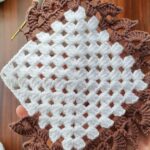
Crochet Cross Over Stitch
What Is the Cross Over Stitch?
The Cross Over Stitch is a distinctive crochet stitch pattern that creates a look similar to a mock cable. While there are several stitches commonly referred to as “cross” stitches, this tutorial focuses on one specific variation with a clearly defined structure.
This stitch is made by working sets of three double crochet stitches, then returning to a skipped stitch to create a double crochet that crosses over the group you just made. If that sounds a little tricky right now, don’t worry! The written instructions, along with the photo and video tutorials, will make everything clear.
Crochet Cross Over Stitch Tutorial
Let’s jump right in and learn how to crochet this eye-catching stitch.
Notes
-
Stitch multiple: 4 + 3
-
If starting with foundation single crochet (fsc), use a multiple of 4 + 2 (no turning chain needed for the first row)
-
Chain 1 at the beginning of rows does not count as a stitch
-
Chain 3 at the beginning of rows counts as one double crochet
Abbreviations
-
ch – chain
-
sc – single crochet
-
dc – double crochet
-
ea – each
Materials
-
Worsted weight yarn (I used Caron Simply Soft)
-
H/5 mm crochet hook
-
Yarn needle
This stitch works beautifully with almost any yarn weight and hook size. For this tutorial, I’m using worsted weight yarn and an H/5 mm hook, but feel free to experiment with different yarns and hook sizes to achieve your preferred texture and drape.
Written Instructions
Chain 27 (or any multiple of 4 + 3).
Row 1
Sc in the second chain from the hook and in each chain across. Turn.
Row 2
Ch 3 (counts as a dc), skip the next stitch.
Dc in the next 3 stitches. Working over the 3 dc just made, dc in the skipped stitch.
Repeat from * across the row until 1 stitch remains. Dc in the last stitch. Turn.
Row 3
Ch 1, sc in each stitch across. Turn.
Repeat Rows 2 and 3 for the desired length.
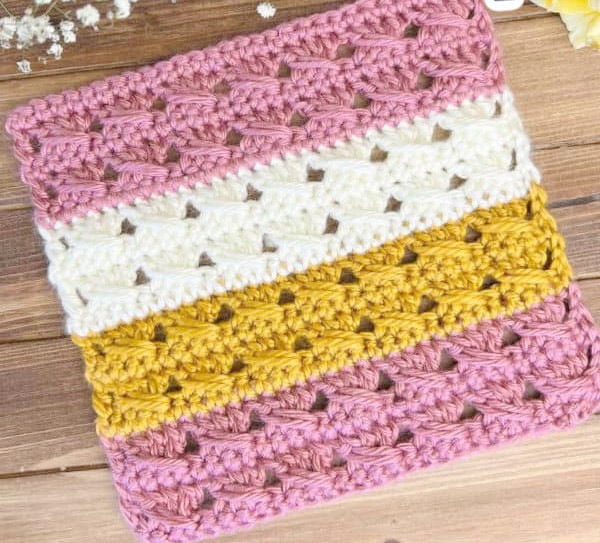
Changing Colors
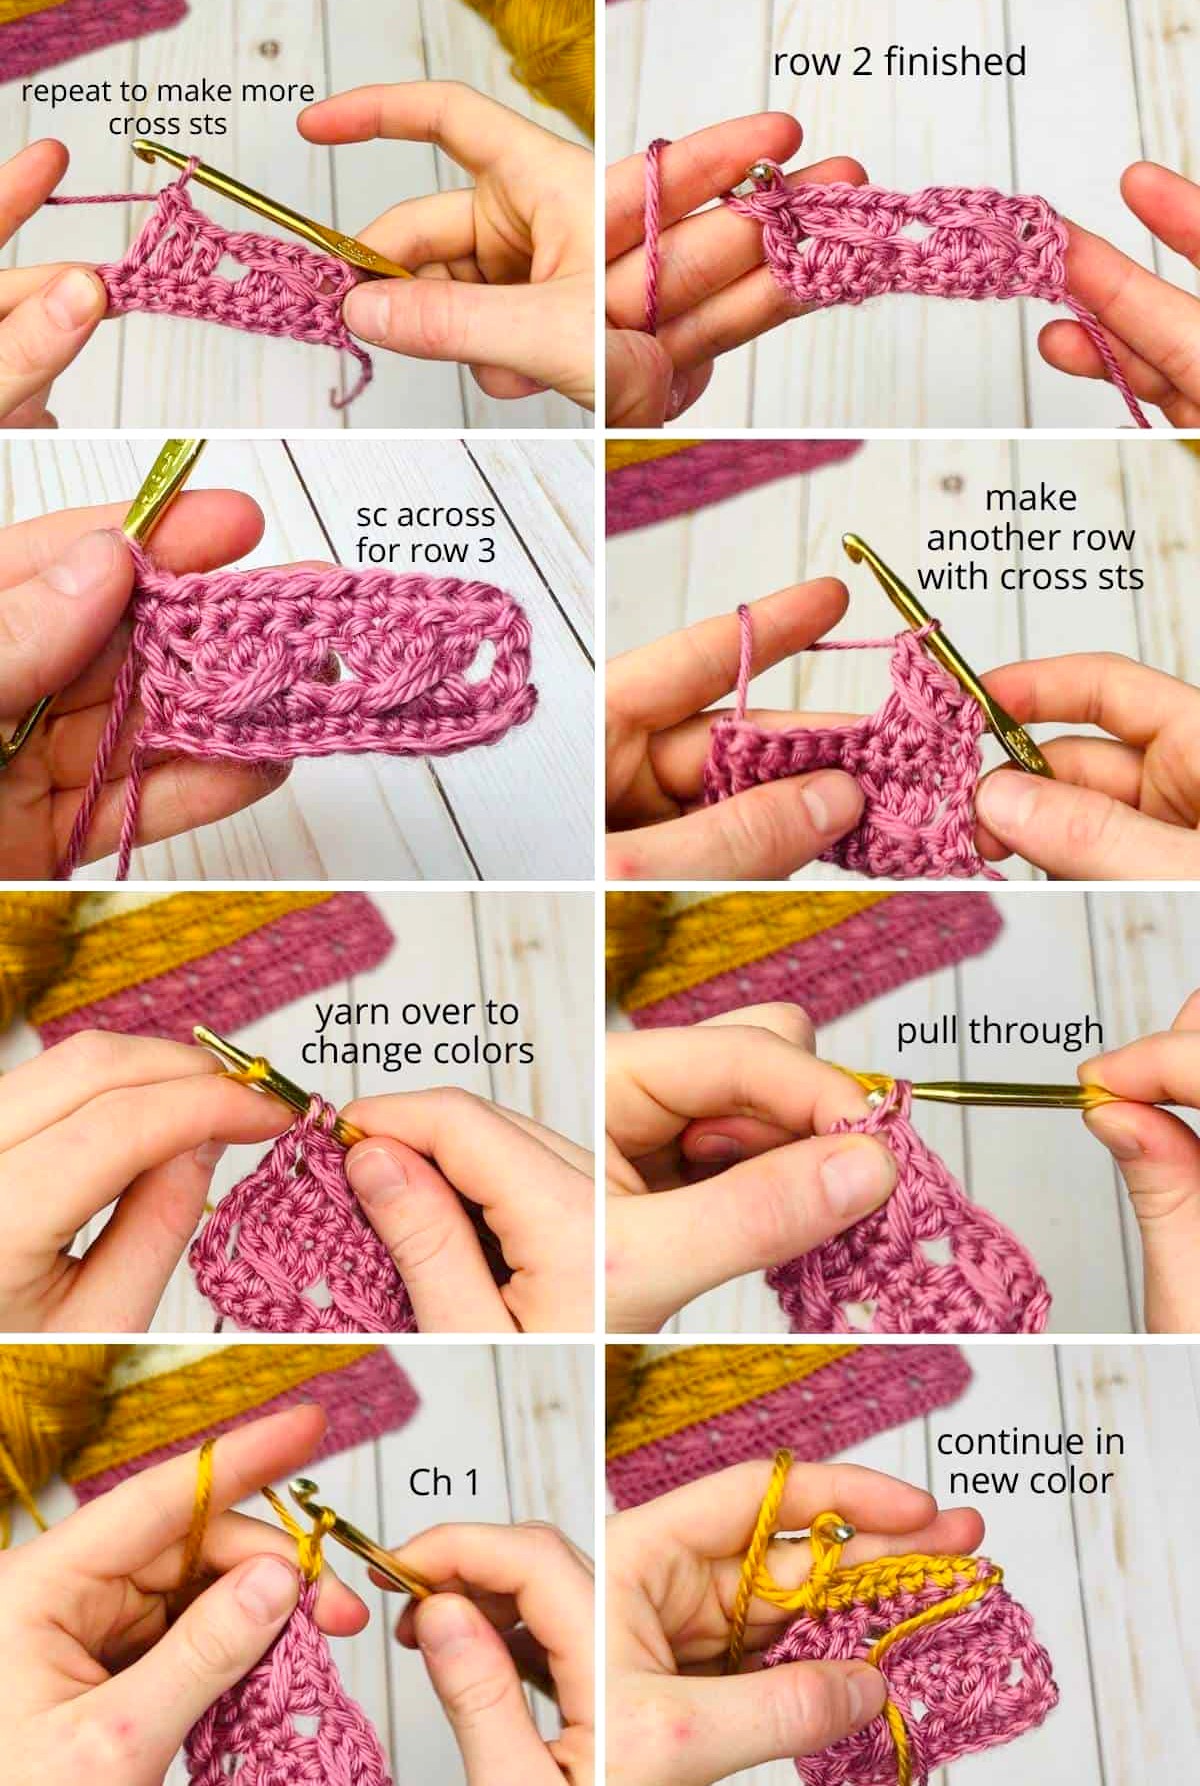
To change colors, do so at the end of any even-numbered row. On the final double crochet of the row, yarn over with the new color to complete the stitch. Turn your work and continue using the new color for the single crochet row. Refer to the photo tutorial for additional guidance.
Photo Tutorial
The photos below show the Cross Over Stitch in detail. Follow them from left to right and top to bottom to see how the stitch forms step by step.
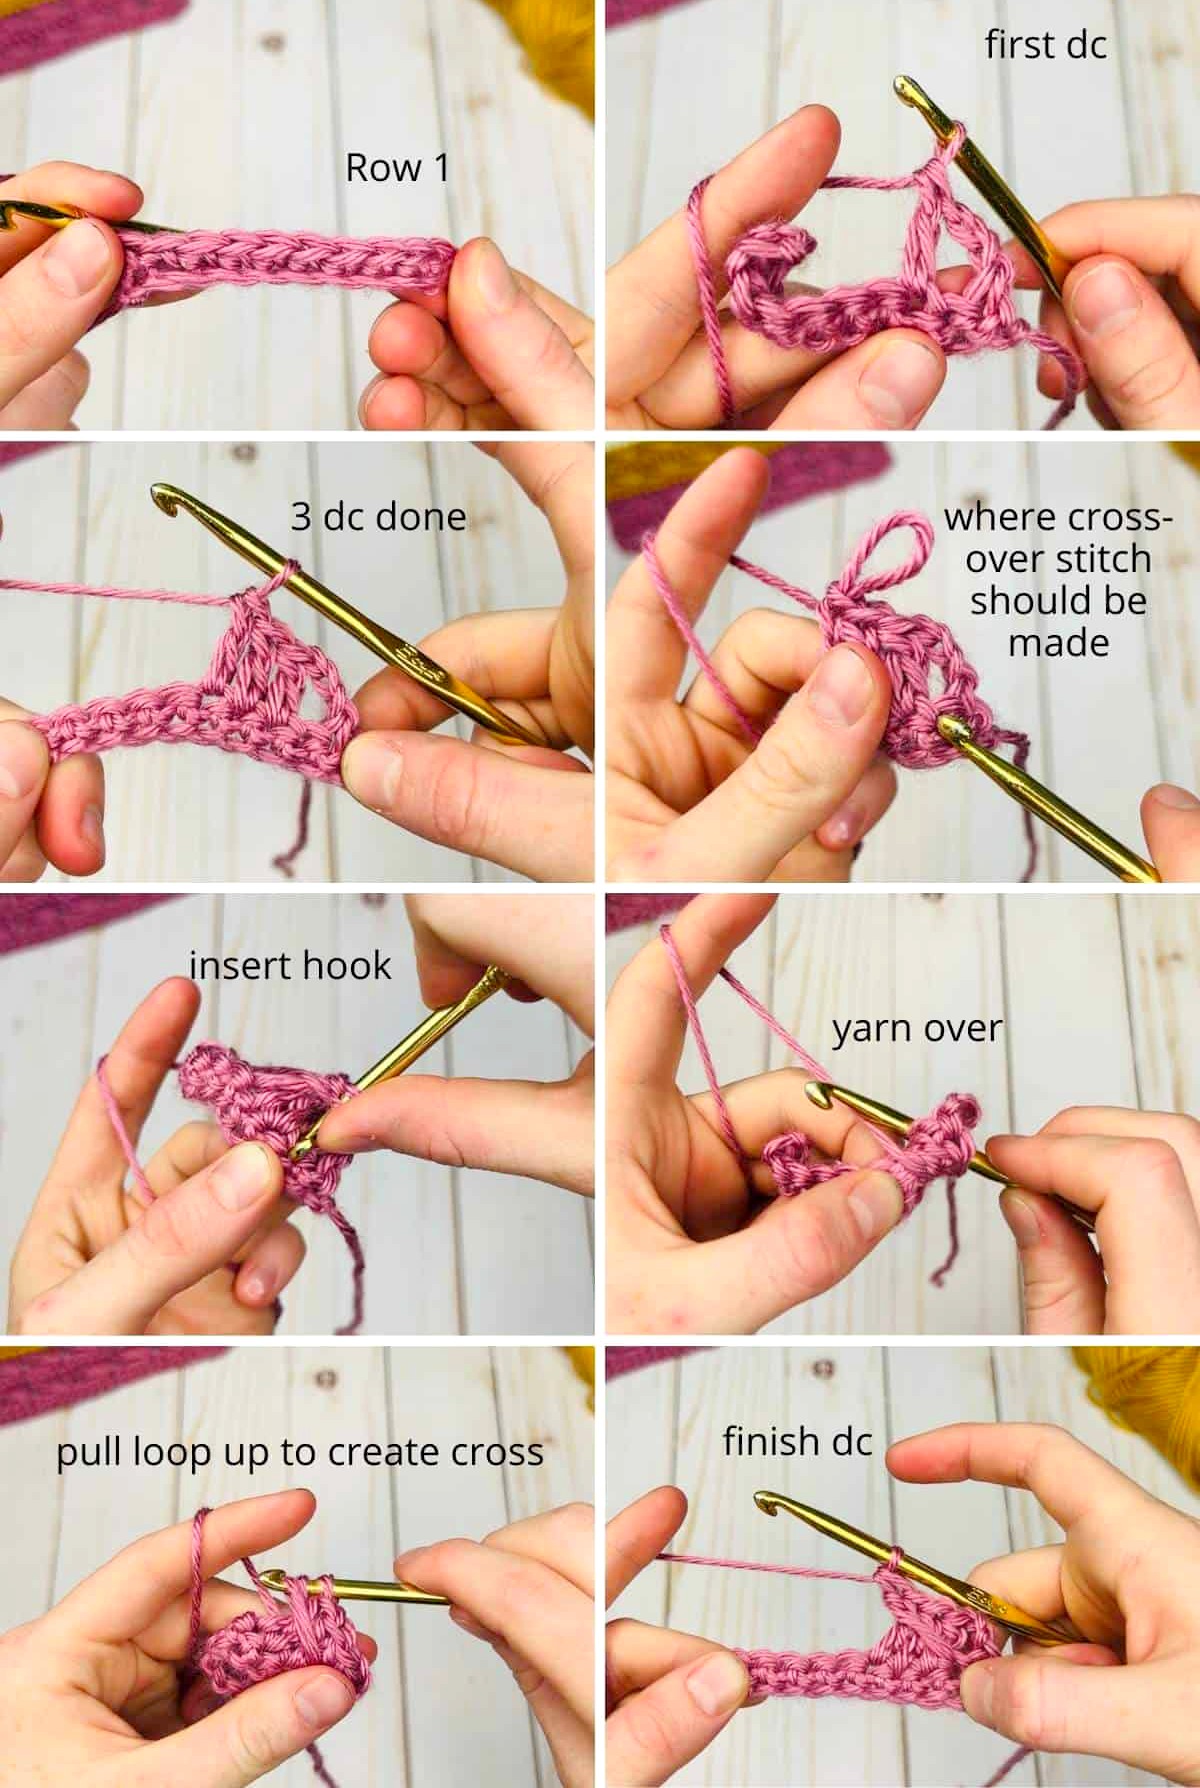
Making the Cross Over Stitch
Begin with a foundation row of simple single crochet stitches. The Cross Over Stitch is introduced right away in the next row.
Each cross-over is created by:
-
Skipping one stitch
-
Working a set of three double crochet stitches
-
Going back to the skipped stitch and making a double crochet over the three stitches
This final step—working over the group of double crochets—is what creates the beautiful diagonal loop, or “cross,” that gives this stitch its name.
Tutorial Video
This video from channel Desert Blossom Crafts
Following Rows & Color Changes
Once you understand the basic technique, simply repeat it across the row. Alternate between a Cross Over Stitch row and a single crochet row to maintain the pattern.
If you’d like to create stripes, always change colors at the end of an even-numbered row by finishing the final double crochet with the new color. Then continue crocheting the next single crochet row in that new shade.