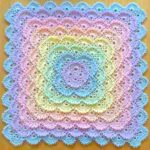
Here’s a beautiful plaid design with crochet squares featuring colorful dots. The intricate details created by the vibrant threads combined with a straightforward step-by-step crochet process make this project truly delightful. Using this guide, you can craft a gorgeous blanket that’s as functional as it is stylish. You’re free to choose your own measurements, sizes, and colors, making it a wonderful way to personalize your creation.
This design is perfect for anyone who loves learning new and creative ideas. The step-by-step tutorial provides tips and techniques to achieve a clean and polished finish. If you enjoy crochet projects, you’ll find the Crochet Granny Blanket pattern particularly rewarding. Here’s everything you’ll need to get started:
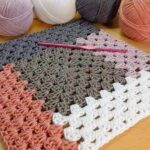
Materials:
- Yarn: You can use any type of yarn. For the example blanket, Medium/DK weight yarn was used.
- Crochet hook: Any size works, but a 5.5mm ‘I’ hook was used for the example.
- Scissors
- Stitch markers
Notes:
- For a multicolored effect, fasten off at the end of each row to change yarn colors.
- To keep your blanket straight, flip your work after each row.
- Check out the accompanying video tutorial and photo step-by-step guide for extra help!
Pattern Instructions:
Row 1:
- Start with your preferred method to form a circle or square.
- Chain 3 (CH 3), then make 2 double crochets (DC) into the center of the circle.
- Chain 2 (CH 2).
- Make 3 DC into the center of the circle, followed by CH 2.
- Repeat this step two more times to form four sets of clusters.
- Slip stitch (SL ST) to join into the first DC stitch.
This first row creates a foundation with four sets of 3 DC stitches and four corner spaces made with CH 2.
Row 2:
- Begin in any corner space. Chain 3 (CH 3), then make 2 DC, CH 3, and 3 DC all into the same corner space.
- *Chain 1 (CH 1), skip the next three stitches (SK 3 STs), then make 3 DC into the next open space. Repeat CH 1, SK 3 until the next corner space.
- At each corner space, create this pattern: 3 DC, CH 3, 3 DC.*
- Repeat this all the way around. Finish with a slip stitch (SL ST) into the first chain from this row.
Row 3:
- Start at a corner space. Chain 3 (CH 3), then make 2 DC, CH 3, and 3 DC into that same corner space.
- Chain 1 to skip over the next block of 3 DC, then create 3 DC in the following open space.
- For every corner space, use the same pattern as earlier: 3 DC, CH 3, 3 DC.
- Continue around and finish with a slip stitch (SL ST) into the starting chain.
Repeating the Pattern:
To enlarge your square, simply repeat Row 3. For every open space along the perimeter, work 3 DC. Between every cluster of 3 DC, chain 1. For each corner, continue the (3 DC, CH 3, 3 DC) pattern.
Once your square reaches your desired size, you can begin creating additional squares. For the example blanket, each square consisted of 19 rows, but you can easily add or reduce the number of rows to make the blanket the size you want.
Joining the Squares:
After completing four squares (or more, depending on your blanket size), you can join them together. The “Join-As-You-Go” method works wonderfully for this project, and a playlist of tutorials is available to guide you through this process.
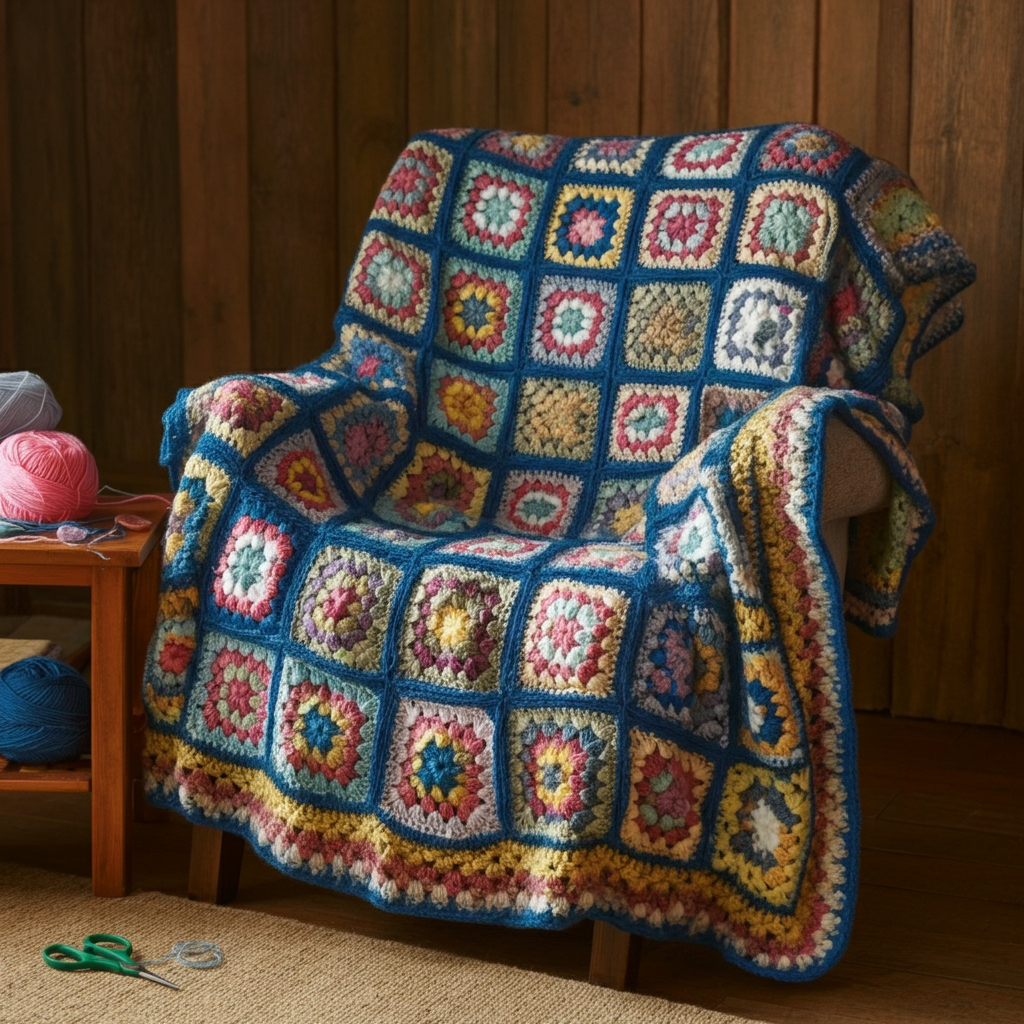
Once assembled, you’ll have a cozy, vibrant blanket to enjoy or gift. Experiment with different colors, yarns, and sizes to make the project uniquely yours. Have fun, and happy crocheting!