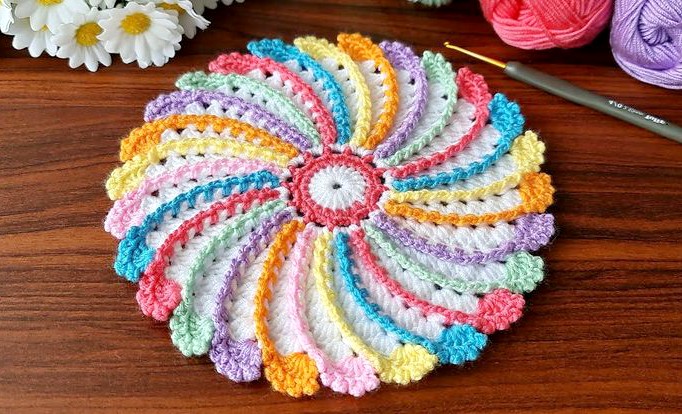
Colorful Crochet Table Design – Step-by-Step Tutorial
Welcome! In today’s tutorial, we’ll crochet a beautiful and vibrant table design that adds a cheerful touch to any home décor. This project combines several essential crochet techniques, including double crochet, single crochet, slip stitches, and front post stitches. It’s a fun and rewarding pattern that also offers a great opportunity to practice new skills.
Let’s get started!
Materials You’ll Need
-
Crochet hook (choose the size recommended for your yarn)
-
Yarn in multiple colors for a bright, eye-catching design
-
Scissors
-
Tapestry needle
How to Crochet a Colorful Table Design
Step-by-Step Instructions
1. Create the Base Circle
Begin with a magic ring, or chain 6 and join with a slip stitch to form a circle.
Chain 3 (this counts as your first double crochet), then work 11 double crochets into the circle. Join with a slip stitch to close the round.
2. Build the Foundation Rounds
Round 1: Work one double crochet into each stitch around. Join with a slip stitch.
Round 2: Change to a new yarn color. Attach the yarn with a slip stitch, chain 3, then work the pattern 1 double crochet, skip 1 stitch around. Join with a slip stitch.
3. Create the Blocks
Switch to the next color and work one round of single crochet.
Chain 4, skip 2 stitches, and secure with a slip stitch. Repeat this sequence around to create block spaces.
In the following round, work 5 double crochets into each block space.
4. Build the Pattern
To create a bold and lively design, change colors every two rounds. As the project grows, increase the number of double crochets in each block as follows:
-
Rounds 3–5: 2 double crochets per block
-
Rounds 6–8: 3 double crochets per block
-
Rounds 9–11: 4 double crochets per block
-
Rounds 12–14: 5 double crochets per block
This gradual increase gives the piece its beautiful structure and dimension.
5. Add Front Post Double Crochet (FPDC)
Chain 3 to begin the round.
Work a front post double crochet around the post of the stitch below. Chain 1, then double crochet into the next stitch.
Repeat this sequence around to create a rich, textured surface.
6. Create the Border
Attach your edge color. Work 7 double crochets into each block gap around the piece.
For a decorative finish, add picot stitches by chaining 3 and slip stitching into the base of the stitch.
Final Tips
-
Keep your tension even for a clean, polished look
-
Use a tapestry needle to neatly weave in all loose ends
-
Blocking your work can help smooth the stitches and enhance the overall shape
Project Inspiration
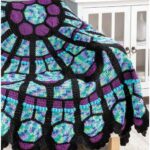
This crochet table design is easy to customize. Make a smaller version for coasters or expand the pattern to create a full table cover. Experiment with different color combinations to design a piece that perfectly matches your style and space.
Video Tutorial
Follow along with the video tutorial for a visual guide to each step.
Happy crocheting! If you have any questions or need extra help, feel free to rewatch the tutorial or leave a comment below.