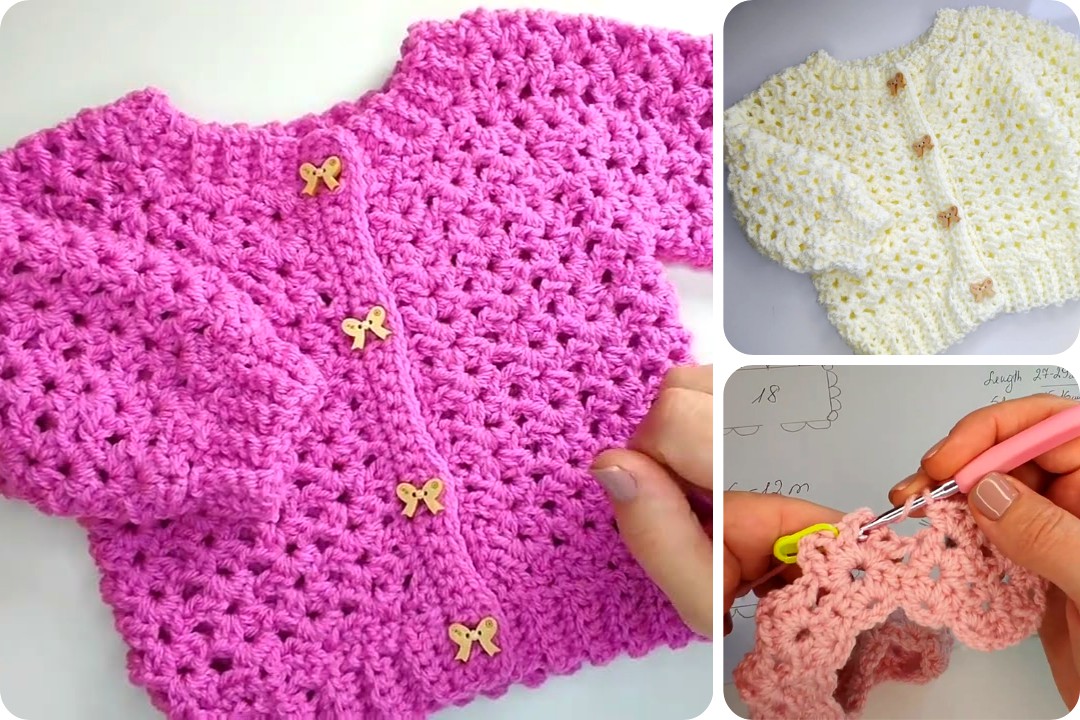
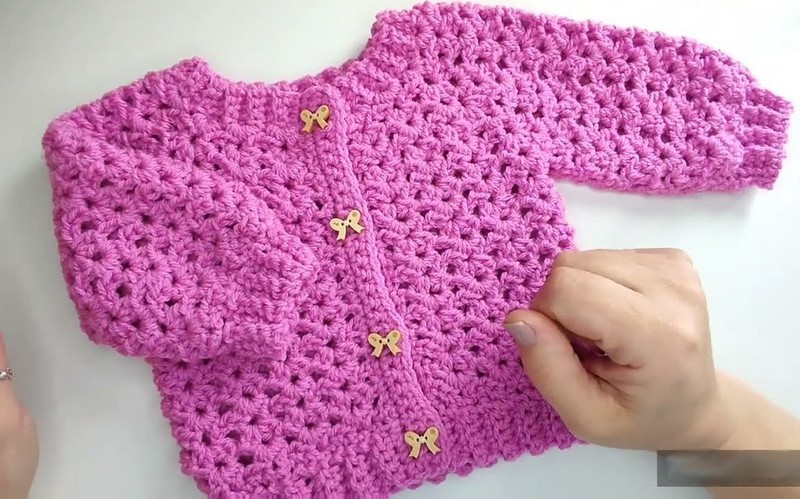
This sweet and breathable summer baby cardigan is perfect for little ones aged 0–6 months. Lightweight and made with cotton yarn, it’s ideal for warm weather and makes a thoughtful handmade gift. Whether you’re a confident beginner or an intermediate crocheter, this pattern will guide you through each step from the yoke to the finishing touches.
📏 Size
-
Designed to fit a 0–6 month-old baby
-
Adjustments can be made by changing yarn weight, hook size, or adding rows
🧵 Materials
-
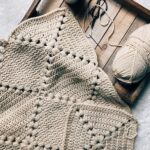
Lightweight (DK/Category 3) cotton yarn – approx. 200–250 grams
Cotton is breathable, soft, and perfect for summer wear. -
4.0 mm (G-6) crochet hook
-
Stitch markers
-
Yarn needle
-
Scissors
-
3–5 small buttons (optional)
🧶 Stitches & Abbreviations
| Abbreviation | Stitch |
|---|---|
| ch | chain |
| sl st | slip stitch |
| sc | single crochet |
| dc | double crochet |
| inc | increase (2 dc in one stitch) |
| dec | decrease (dc2tog) |
| st(s) | stitch(es) |
You should be familiar with basic stitches. If not, I can walk you through them.
🧷 Construction Overview
This cardigan is worked top-down using a raglan yoke method. Once the yoke is complete, the body and sleeves are separated and finished individually.
Instructions
🧣 Step 1: Yoke
Foundation Chain:
Ch 54 (this will form the neckline)
Row 1 (Setup):
Dc in the 4th chain from hook and in each chain across. (52 dc total)
Turn.
Row 2 (Raglan Increase Setup):
Place stitch markers for raglan increases in these positions:
-
8 dc (left front) → place marker
-
10 dc (sleeve) → place marker
-
16 dc (back) → place marker
-
10 dc (sleeve) → place marker
-
8 dc (right front)
Rows 3–9 (or until yoke depth reaches 4.5–5 inches):
Dc across, making 2 dc in each marked stitch.
Move markers up to the first dc of each increase every row.
👕 Step 2: Separate Sleeves
When the yoke is long enough:
Body Row:
-
Dc across to the first marker
-
Skip stitches for sleeve, ch 4 (armhole)
-
Dc across the back
-
Skip next sleeve sts, ch 4 again
-
Dc to end
Now your cardigan will have an opening for the body and two armholes.
🧥 Step 3: Body
Continue working dc rows beneath the armholes.
Repeat until the cardigan reaches the desired length (usually 6–8 rows).
Optional: Add a shell stitch or scallop border at the hem for a decorative finish.
🧵 Step 4: Sleeves
Attach yarn under the arm.
-
Work dc rounds around the sleeve opening
-
Repeat for 5–6 rounds (or until preferred sleeve length)
-
Finish with a round of sc or a decorative edge
Repeat for the second sleeve.
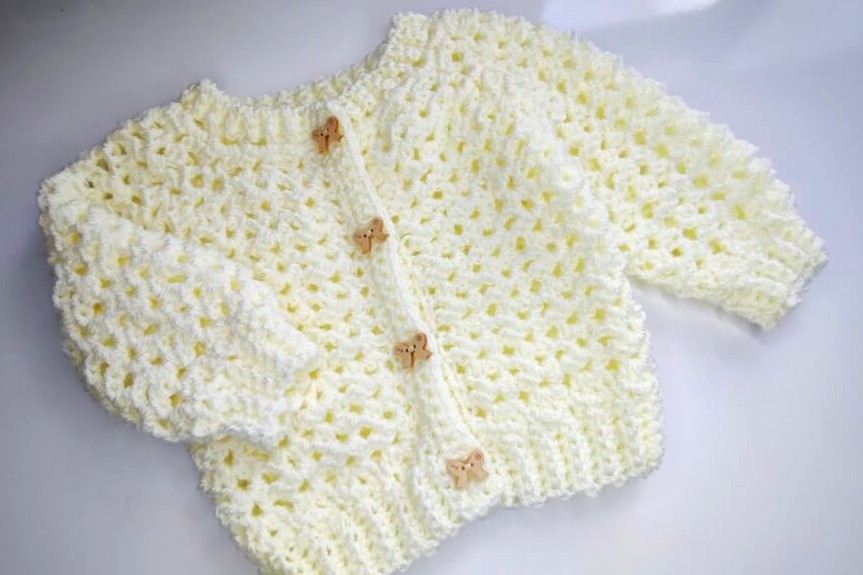
🔘 Step 5: Front Edging & Buttons
-
Attach yarn at the bottom corner of one front panel
-
Sc evenly up the front edge, around the neckline, and down the other side
-
To add buttonholes: on one side, ch 2, skip 2 sts every 5–6 stitches
-
On the opposite side, sew buttons to align with buttonholes
Tuturial Video
✅ Final Touches
-
Weave in all yarn ends neatly using a yarn needle
-
Lightly block the cardigan by pinning it to shape and misting with water
-
Let dry flat for best results
🎨 Customization Ideas
-
Use self-striping or ombré yarn for a colorful effect
-
Crochet a tiny flower or motif to stitch onto the front
-
Add a hood by continuing rows from the neckline